Crayola garden stake art kit

Hello, my bucket list, friends! Yesterday, I got one of the many art kits from my room. I had the day off, and art is something I love to do on my days off. This art kit was a simple painting art kit. The point of this kit is to paint a wooden garden stake. The kit came with three paint colors, but it also came with a color mixing guide. I did use the guide so I could get more colors. I did enjoy this art kit, and I’m happy with the final results!

Thanks for reading! Love – Christina Epperly

My little sticker book

Hello, my bucket list, friends! On Saturday before work, I bought this sticker set that I had been thinking about getting for a while now. I also bought a mini notebook. I started putting my favorite stickers from the sticker set in the notebook. I had fun making sticker pictures in my new mini notebook. I have not completed my little sticker book yet, but I wanted to share some of the pages with you! I hope this inspires you to be creative!

Love, Christina Epperly

Sticker craft kit yay!

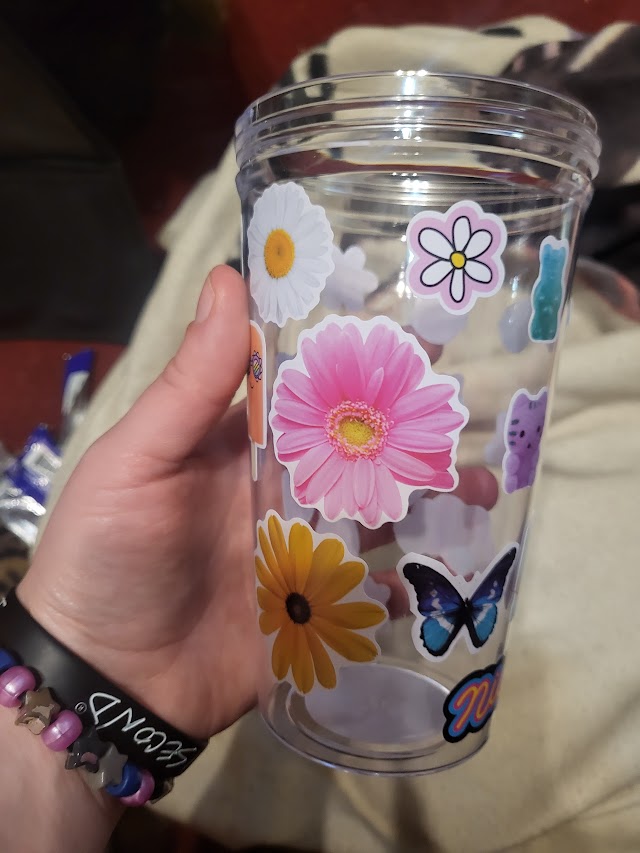
Hello, my bucket list, friends! I’m excited to tell you about the latest craft kit that I opened. One thing that I really like about this craft kit is that it comes with lots of stickers! I did not even use all the stickers that came with the kit. The kit was a very simple one it came with a plastic tumbler that included a lid a straw and two sheets of stickers to decorate the tumbler with. I enjoyed decorating the tumbler, and I love the way that it looks. I wish that I had more sticker craft kits like this one. I will have to keep my eye out!

Thank you for reading !

Love, Christina Epperly.

Candle holder art kit fun!

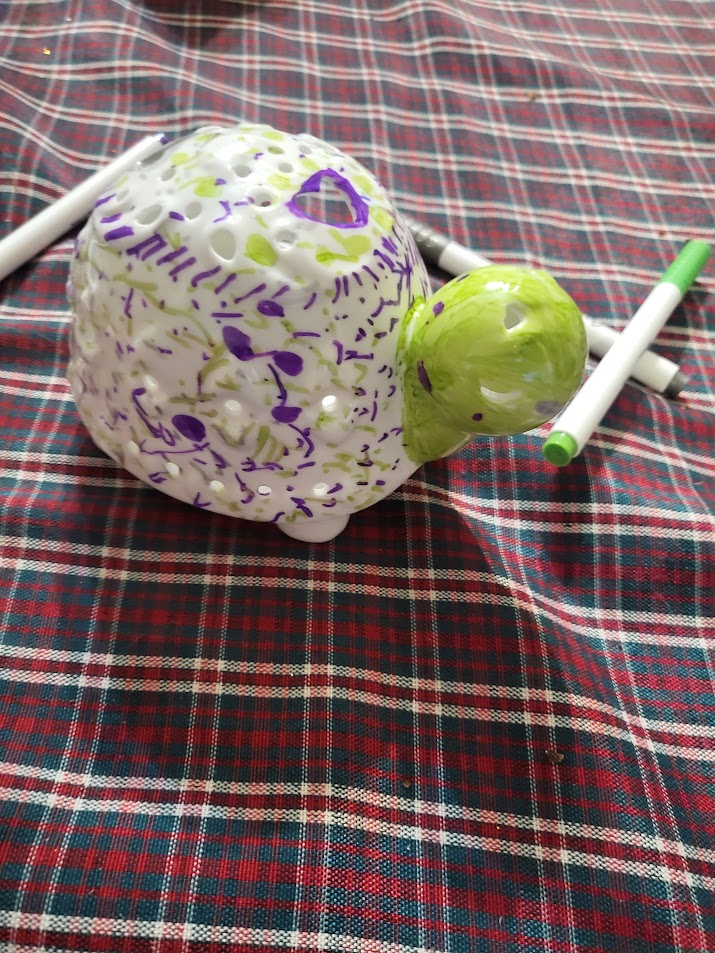
Hello, my bucket list, friends! Yesterday, I got out one of the many art kits that are in my room. This art kit is a little different from the ones that I had done in the past because instead of coloring wood, paper, or foam, I was coloring a ceramic LED candle holder. This kit came with three ceramic markers. The markers did have a strong smell to them, but they worked as expected. I chose to cover my turtle shaped LED candle holder with little dots and marks, but I did fully color the turtle’s head. I enjoyed doing this craft kit, and I would recommend it. It was simple and relaxing, and I wish there were more craft kits like this. I don’t see them very often at all. I got this one at a local toy store, but I’m sure you could easily find them online.

Thanks for reading !

Love – Christina Epperly

Coloring a wooden snowman! Blogmas day 16

Hello, my bucket list, friends! I’m here with a fun blog post about a simple coloring craft kit. These kind of craft kits are my favorites because they are easy to do and they are relaxing. I did this one right before I went to bed. I got this particular craft kit from the Dollar Tree. It came with a wooden snowman and markers to color him with. I like how the snowman is holding a bird. I decided to make the snowman’s scarf and the bird red and green to make this craft more festive! I mainly used the blue marker because the body and face of the snowman were the largest areas that I needed to color. I colored the hat green. I like that he has a top hat it reminds me of Alice Cooper. I love simple craft kits like this the most!

Thanks for reading this fun blog post- Christina Epperly

Christmas coloring craft! Blogmas day 8

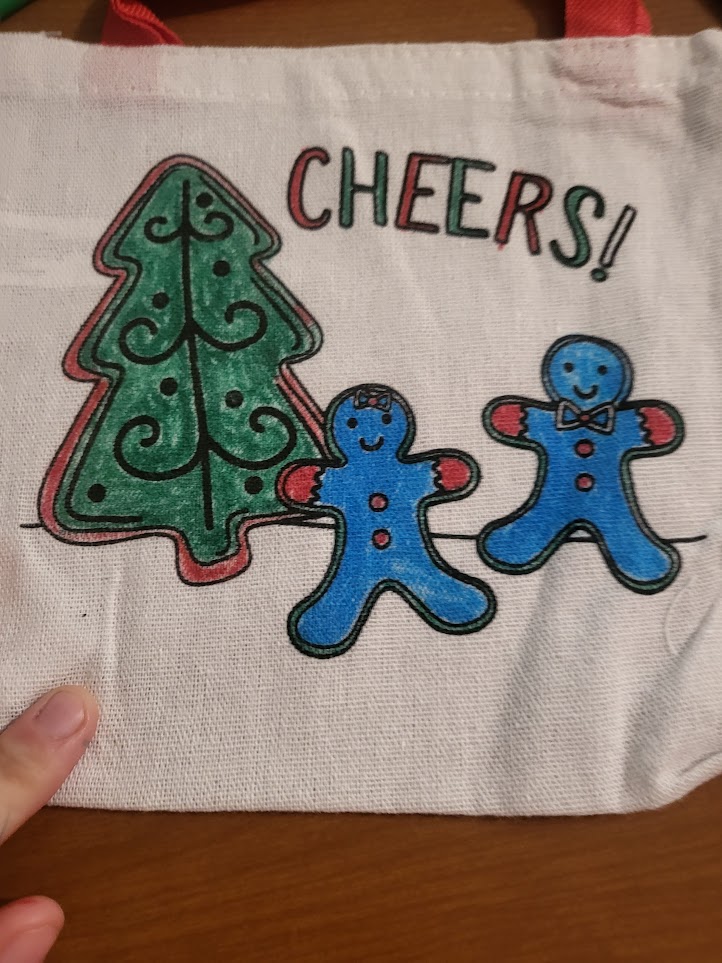
Hello, my bucket list, friends! Today, I did a Christmas themed craft kit that I got at the Dollar Tree. It was a simple coloring craft kit. The kit came with a cute tote bag and some markers. I loved the cute gingerbread people on the bag. I had a fun time doing this project. I find coloring to be a very relaxing activity. I highly recommend getting simple craft kits, especially for Christmastime!

Thanks for reading about my craft kit fun! – Christina Epperly

I painted a cute bunny !

Hello,my bucket list, friends! I’m writing this quick blog post to tell you about the fun craft kit I did on Tuesday. I had the day off, and I got in a creative mood. I looked through my craft kits, and I decided to do craft a kit from the Dollar Tree. This craft kit was one where you paint a ceramic sculpture. In this case, the sculpture was shaped like a bunny. This kit came with three paint colors and a small paint brush. I started by using the yellow paint, but I ended up mixing the blue and yellow paint to make green. Green is my favorite color, so I decided to make my bunny mostly green, but I did keep some yellow, and I used red on the ears. I like the way my bunny looks.

Thanks for reading about this fun project!

Rock On – Christina Epperly

Blogmas day 14 Painting snowflakes

Hello, my bucket list, friends! It is time for another blogmas post about an art project. I have only done one post about an art project for blogmas so far, so I decided to do another. I had a cute craft kit that I had got from Target that had three wooden snowflakes that you can paint. One thing that I really liked about this kit was that it came with two paint brushes and a good amount of paint colors. When it came time to paint the snowflakes, I didn’t have much of an idea of how I was going to paint the snowflakes. The first snowflakes I painted the first snowflake really simply. I only used two colors, and I did not do any fancy designs. With the other two snowflakes, I did dots on both. I love painting dots when I do art projects. I love the way all three snowflakes turned out. I wonder what art project I will do next.

Thanks for reading!

Rock On – Christina Epperly

Blogmas day 2 wooden Christmas art!

Hello, my bucket list friends! Happy 2nd day of blogmas! Today, I decided to do some art so I could blog about it. I have lots of different arts and crafts supplies, and I was not sure at first what I wanted to make. Then I found a bag of a bunch of wooden Christmas shapes. I rounded up some markers and decided to color the small wooden sign that said , ” Merry Christmas” on it. I also decided to make my sign very colorful! I kept grabbing different colors, and I really liked the way they looked together on the sign. This art project was both fun and quick to complete. I’m happy that I chose to make this art project today! I hope you are all having a wonderful start to your months!

Rock On- Christina Epperly

Another super fun Melissa and Doug craft kit

Hello, my bucket list friends! It is no secret that I love doing craft kits. I’m always buying them and I having been trying to actually make more of them lately. On Monday I opened a craft get that I had gotten at a Goodwill back in August. This craft kit is from Melissia and Doug one of my favorite brands for craft kits. This kit had two magnets that your decorate with stickers and glitter glue. The two magnets in this kit were shaped like a firetruck and a train. I decided to make the train magnet first. This kit was pretty easy to do. It was also easy to figure out where the stickers were meant to go because there was a picture on kit. However, you can put the stickers wherever you want. There is no right or wrong way when it comes to putting the stickers on. After the stickers it was time for the glitter glue. There were two tubes of glitter glue in this craft kit. One was red and one was sliver. I didn’t use a whole lot of glitter glue for this project but I did enjoy outlining the firetruck with it. I also had fun making dots with it. I had fun doing this craft kit and I look forward to doing more Melissa and Doug craft kits in the future.

Thanks for reading about my craft kit fun!

Rock On – Christina Epperly